


Table of contents
I have created one login page by using basic HTML tags and here what is looks like.
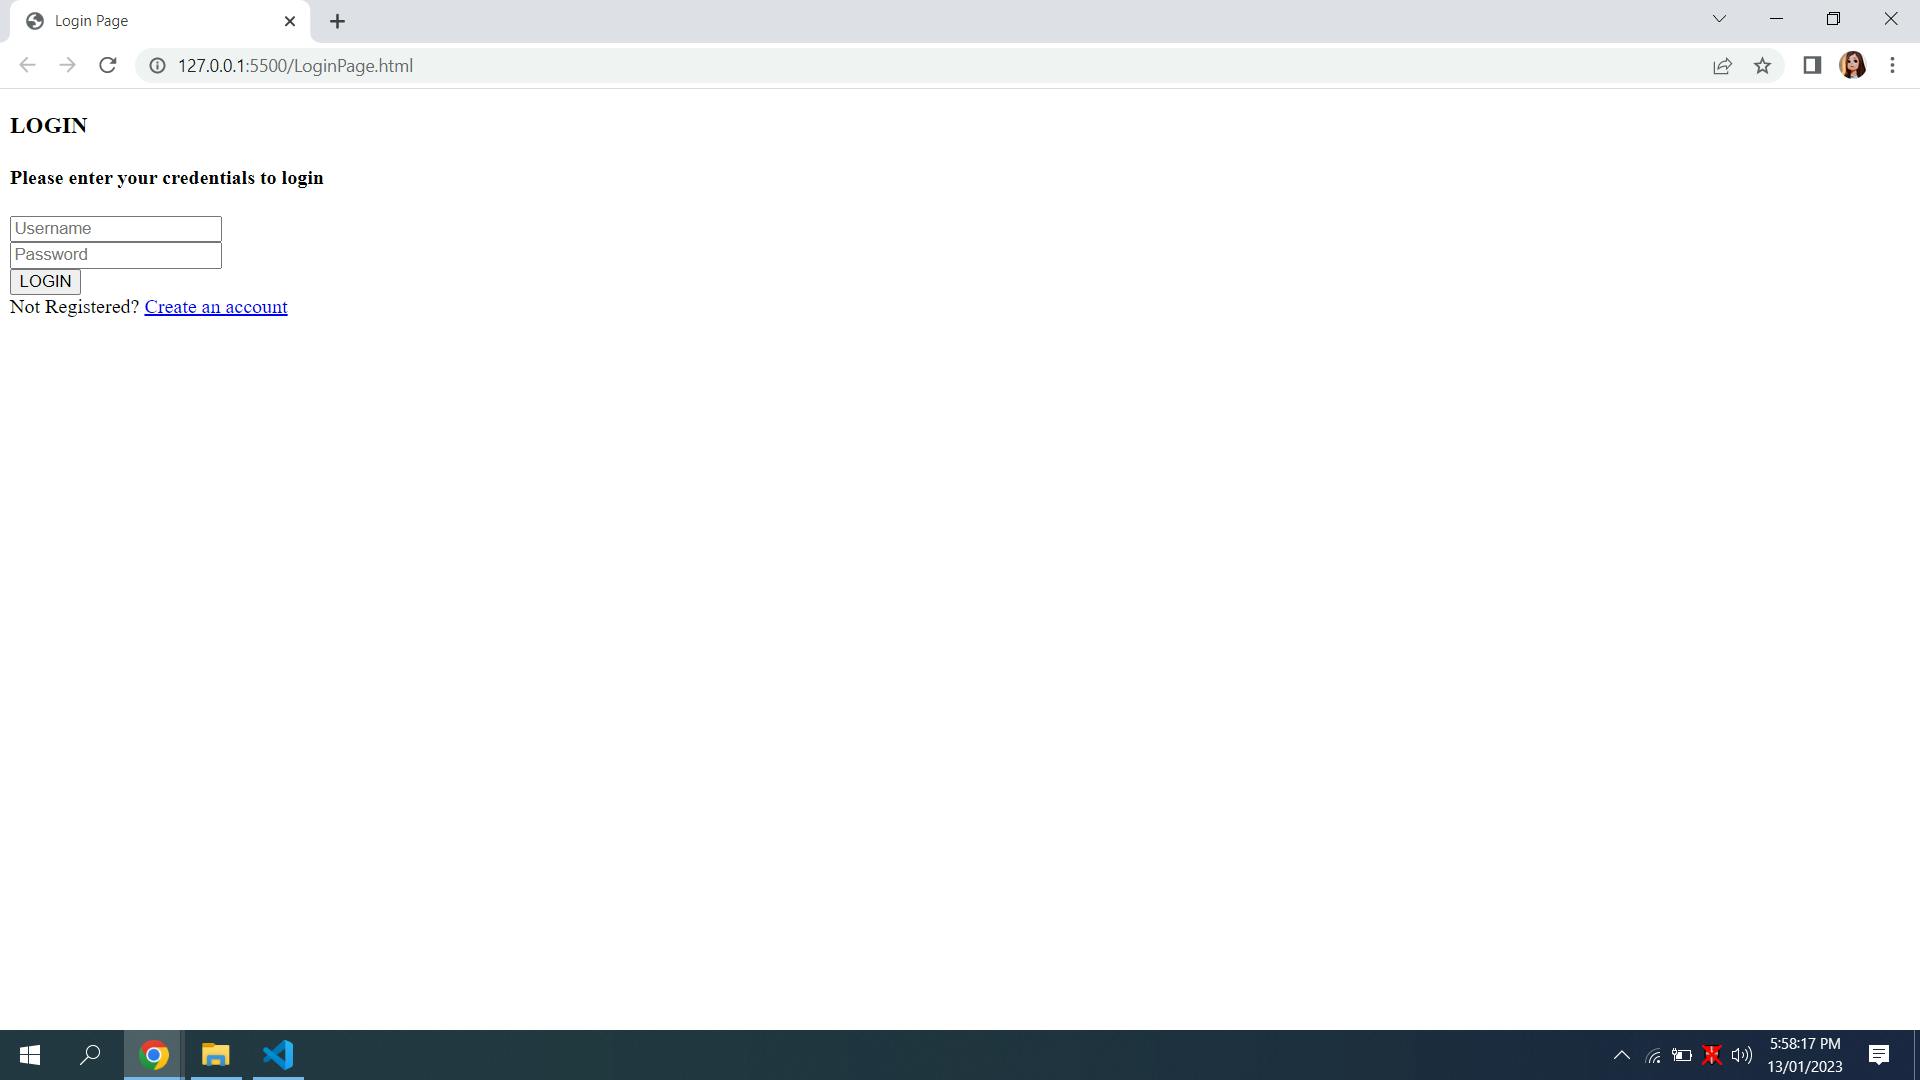
Boring isn't it? Let's try to add some magic. Making it more attractive and userfriendly. BOOM...!
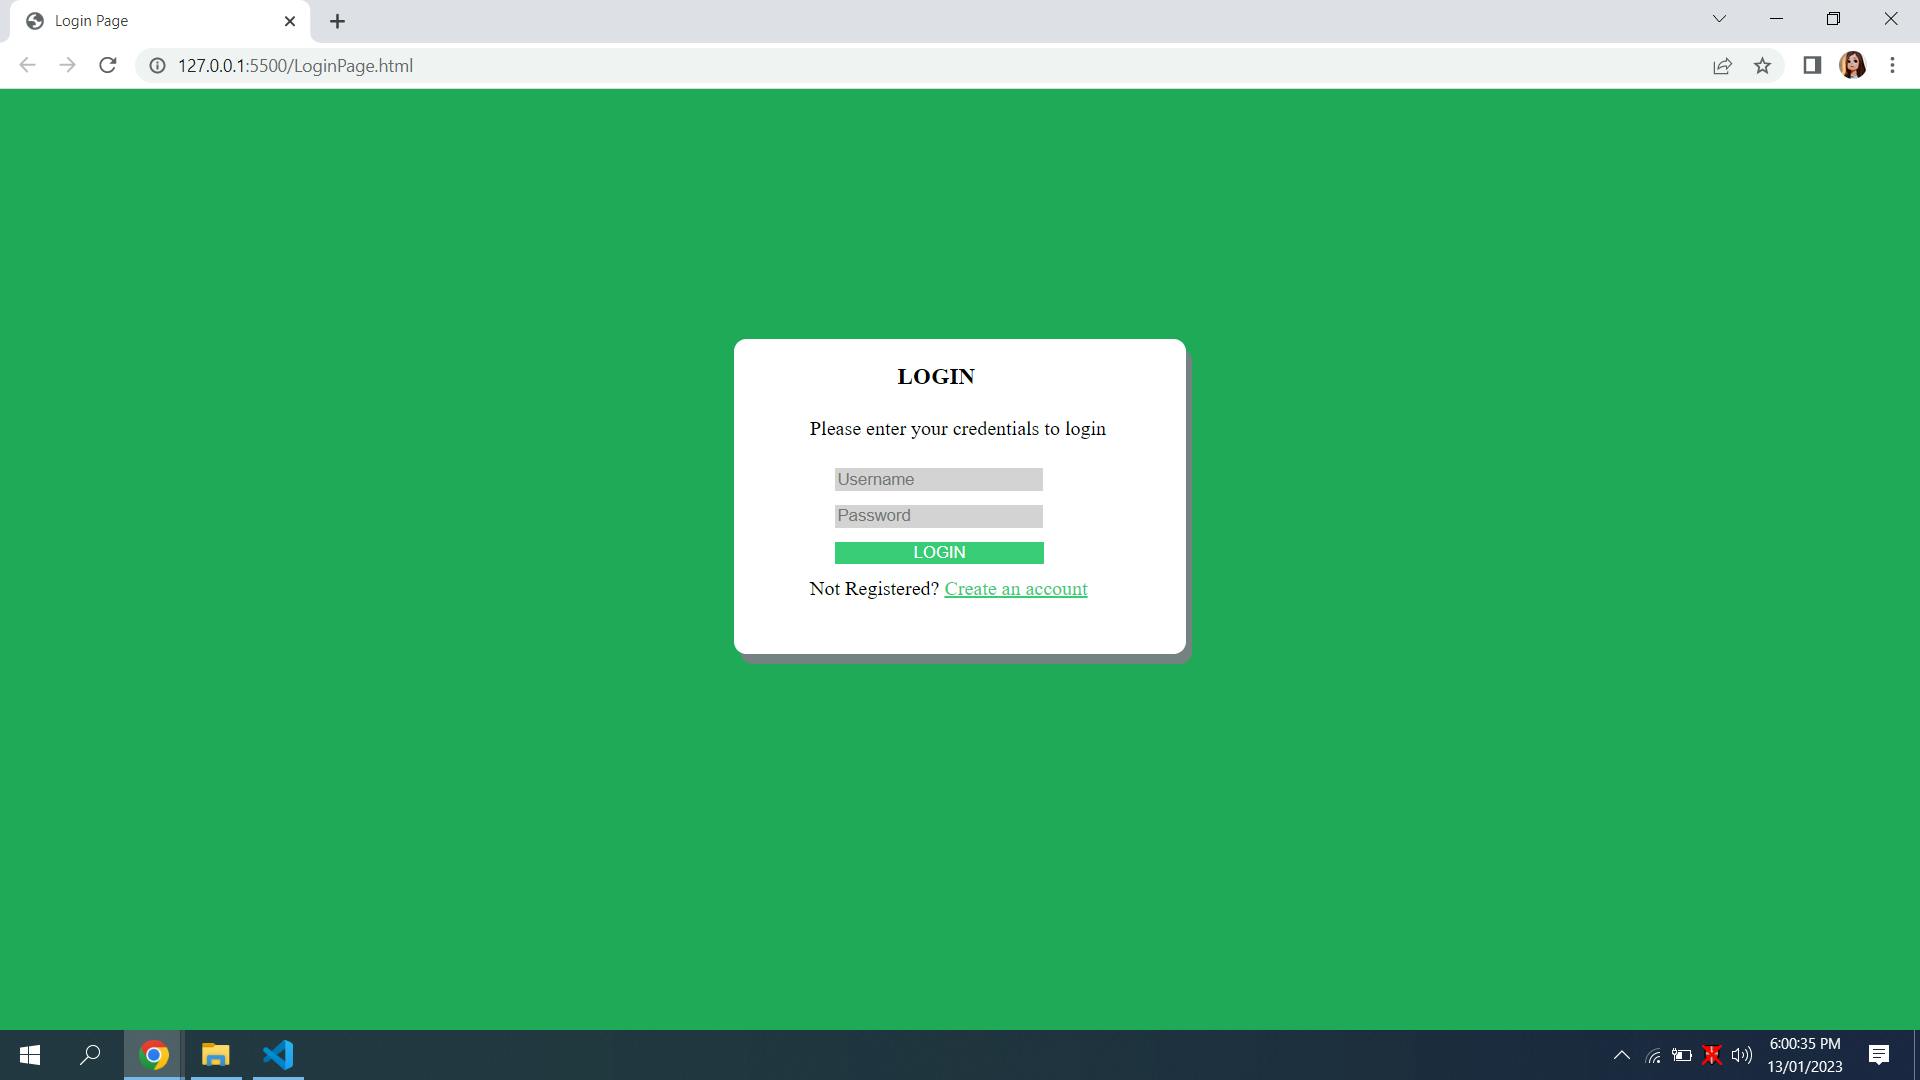
Well, this magic is called a "Cascading Style Sheet" aka "CSS".
Introduction to CSS
CSS is used to style your web page according to your need that is color, size, and position. Just target any section on the web page and decorate it with the help of CSS.
Syntax:
* { style properties }
There are three ways in which we can apply CSS.
Inline CSS: As a word suggest inline CSS is nothing but CSS inside any tag. The style attribute is used to apply inline CSS. This type is used when specific formatting is limited to one tag or it is not going to use in an entire page other than that tag. Refer to the below code for inline CSS.
<h1 style="color: #C7C11A; width: 500px;">Heading1</h1>CSS within <Style>: Another way is to apply CSS within the <Style> tag inside the <head> tag. Unlike inline CSS this can be reused for many tags throughout the code. For example, if there are three <h2> tags then we can write CSS for <h2> only once and it will get applied to all <h2> tags. Refer to the below code for example.
 <head>
     <style>
         h2{
              color: #fff;
              width: 360px;
              height: 250px;
            }
     </style>
 </head>
 <body>
     <h2>Test1</h2>
     <h2>Test2</h2>
     <h2>Test3</h2>
 </body>
External CSS: It refers to the external file which contains only CSS code and we have to include it in an HTML file. <link> tag is used inside <head> tag to include external CSS. Refer to the below code for the same.
 <head>
     <link rel="stylesheet" href="style.css">
 </head>
Now the question is how to target any section on the web page. Here comes "Selectors".
Types of Selector
Universal selector: It targets all elements to apply CSS. For example, in a scenario where we need the background color of all elements to be gray.
 *{
     background-color: #758283;
 }
Individual selector: It targets individual elements(tags).
 p {
      background-color: #d1ea76;
   }
Class and id selector: This type of selector is used to select elements with the help of their attributes. Attributes like class and id. To select an element with class "." dot is used and to select an element with id "#" is used.
 <head>
 <style>
 .warning {
         background-color: #ef9323;
         color: #FFFFFF;
          }
  #danger {
         background-color: #e93916;
         color: #FFFFFF;
          }
 </style>
 </head>
 <body>
     <button class="warning">botton1</button>
     <button id="danger">botton2</button>
 </body>
And selector (chained): In this case, CSS will apply only to those elements which satisfy selector logic. Here Logic means the element should have all mentioned classes or a pair of classes and an id. The below example can explain more.
 <style>
 .bg-black.text-white{
         background-color: #000;
         color: #ef9323;
       }
 </style>
Combined selector: This selector is used when we want to apply a certain type of CSS to multiple elements. For example, apply background color to <p>,<h1> tags. Refer to the below code.
  p,h1 {
         background-color: burlywood;
       }
Inside an element: It is used when we want to apply CSS on a certain level of the hierarchy. Level of hierarchy means, <li> under <ul> and <ul> under <div>. It is more useful when there are several <div> which contain <li>. So here we can specify which <li> to target. If we specify "div li{}" it will apply to all <li> which are under <div>. But if we specify "div ul li{}" it will apply to only <li> which is under <ul> and then <div>. Refer to the below code.
 <head>
 <style>
 div ul li {
         background-color: #4b35f1;
       }
 </style>
 </head>
 <body>
 <div>
     <ul>
         <li>1</li>
     </ul>
 </div>
 <div>
       <li>1</li>
 </div>
 </body>
Direct child: This selector goes into a few specifics like which direct child to target. From the above example, if we give "div > li" it means <li> should be a direct child of <div>. The selector will consider second <div> from the above example as <li> is a direct child of <div>, not first <div> which also contains <li>. Refer to the below example.
 <head>
 <style>
 div > li {
         background-color: #4b35f1;
       }
 </style>
 </head>
 <body>
 <div>
     <ul>
         <li>1</li>
     </ul>
 </div>
 <div>
       <li>1</li>
 </div>
 </body>
Sibling: Simple meaning of sibling is, one who is on the same level in a hierarchy as us. It selects an element sibling.
Syntax:
 attribute + element {
         background-color: pink;
       }

 .sibling + p {
         background-color: pink;
       }
where ".sibling" is class and "p" is a sibling of an element whose class is used.
Pseudo Elements
Pseudo-elements are added to selectors to specify which part of the element to style. Below are a few pseudo-elements.
:: before - As the name suggests it applies CSS before the selected element.
Code can depict more easily.
   .imp-label::before{
         content: '';
         display: block;
         width: 20px;
         height: 20px;
         border-radius: 10px;
         background-color: orange;
       }
Here "imp-label" is a class of label. Content means what text we want to display. In this case, it is blank so the blank box will display. "display : block" means the box should have its own space. It can also be inline, then it won't have its own space. Without content and display attributes nothing will display on the web page. Refer to the below output.

:: after - This works the same as::before. The only difference is it will display block after label.

Pseudo Classes
Pseudo-classes are added to selectors to specify after which event CSS should apply. Events mean click, hover, etc. We can combine these classes with pseudo-elements. Below is an example of pseudo-classes.
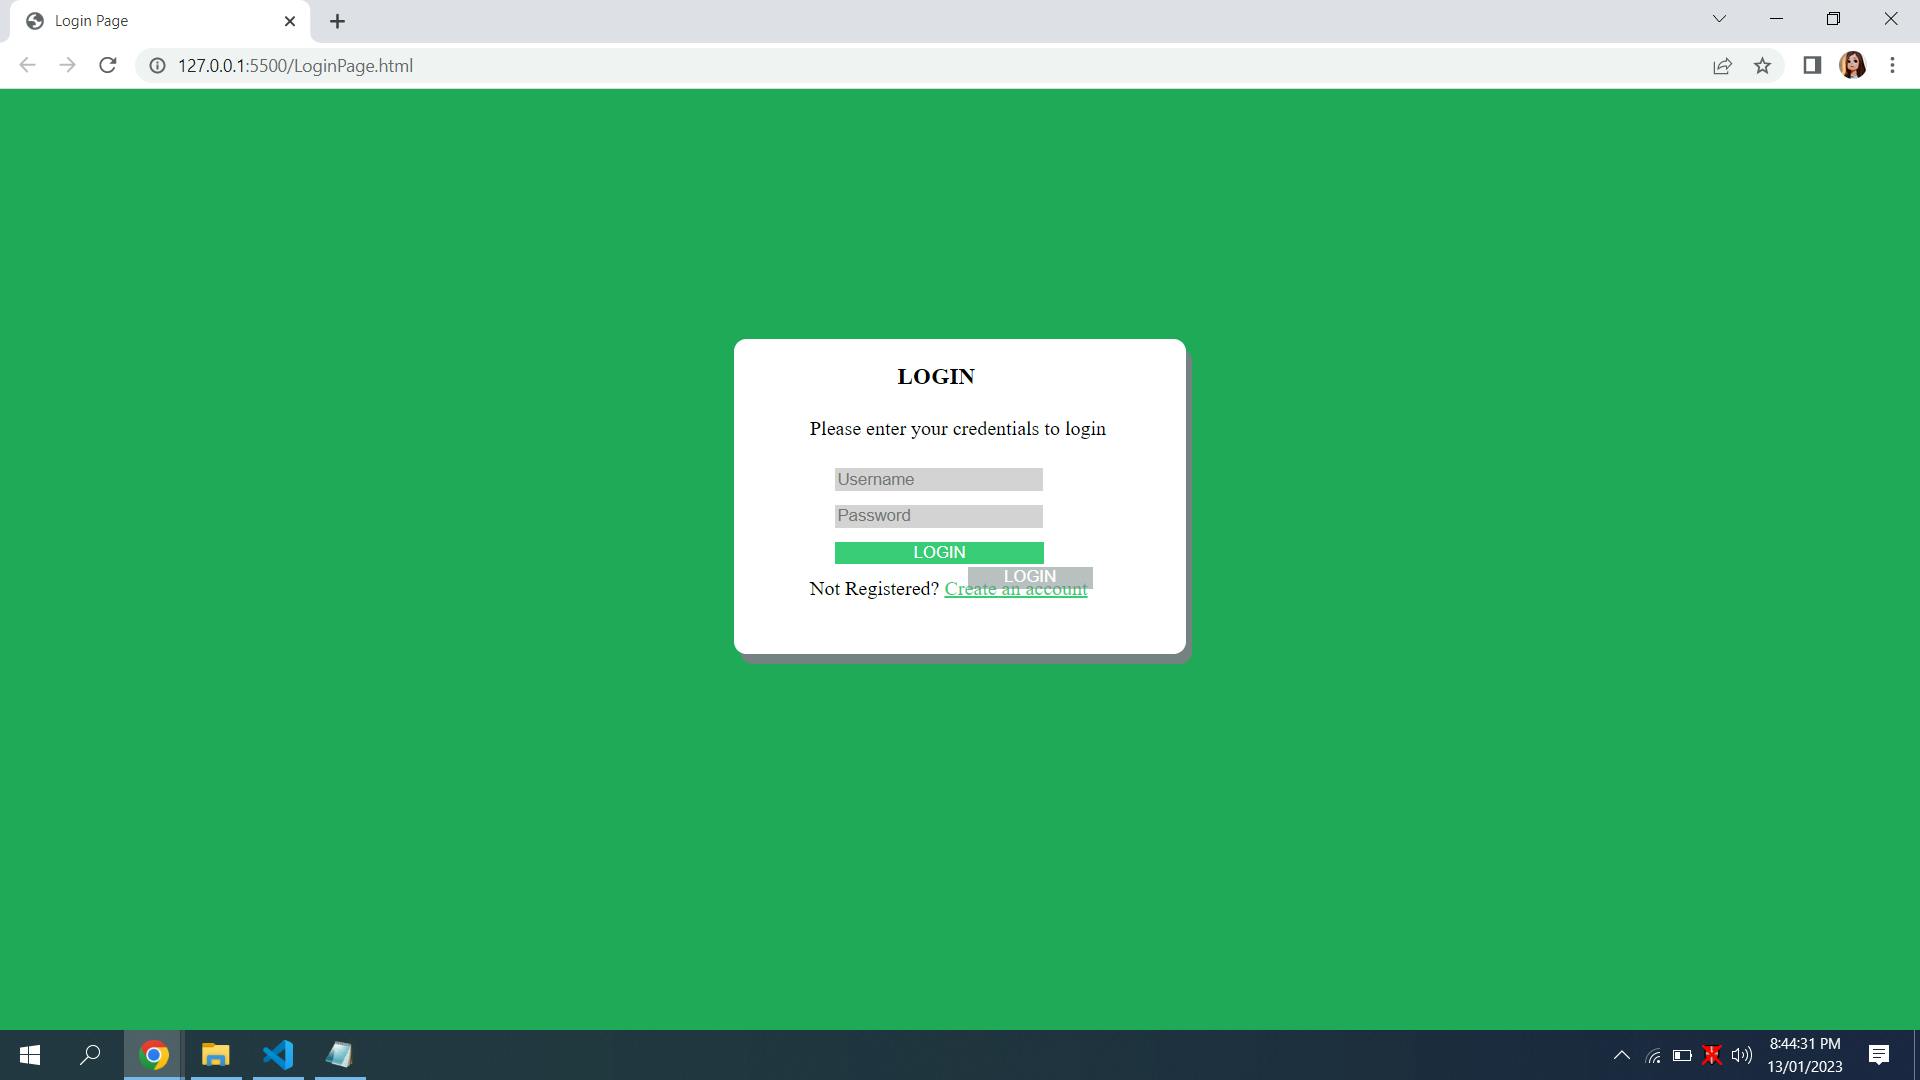
:hover - In this case certain CSS will apply when we hover on the selected element.
:link - It matches the link that is not yet visited.
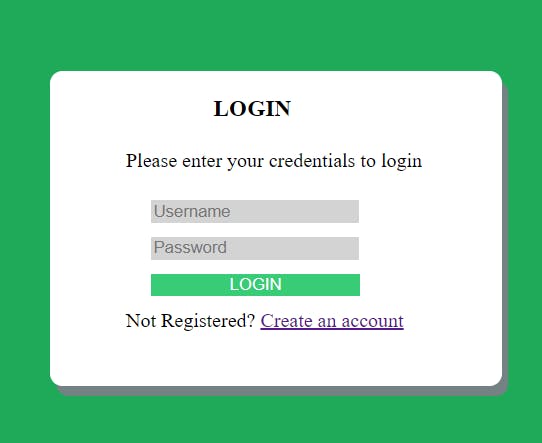
 .btn:hover::after{
             content: 'LOGIN';
             display: block;
             width: 100px;
             height: 18px;
             background-color: #758283;
             opacity: 0.5;
             color: #fff;
             position: absolute;
             margin-top: 3px;
             margin-left: 100px;
         }
  .a-tag:link{
             color: #38CC77;
         }
Output:
The link is green till not visited. After visiting it will change color.
My Login Page: https://github.com/Spacecoder1/Practice/blob/main/index.html